
Custom Backgrounds
Self-Playing Kiosk
Hub Slide
Rollovers
Hyperlinks
Slide Master
Unique Bullets
Action Buttons
|
Use gradients, textures, patterns, or pictures for your backgrounds.
For example, to applying a picture to a slide background, select the Picture tab and press “Select Picture.” The “Insert Picture” dialog box will appear. Use the navigation window at the top to locate the image you wish to insert and click Insert or OK. The “Background” dialog box will appear. Select Apply to add the picture only to the current slide. The slide background is now a picture image. |
 |
![]()
| This is a great tool to use for parent teacher conferences or back-to-school night. As parents wait to talk to you, they can watch a slide show of containing anything from the curriculum and expectations to student projects and class activites. This show continues to loop until you stop it by pressing the Esc key in the top left corner of the keyboard. Three Elements of a Self-Playing Kiosk 3) Add Narration (Optional) |
![]()
|
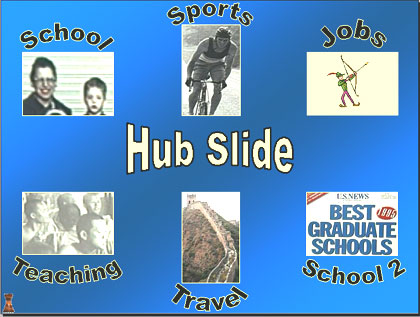
What is a hub? A hub is a centralized location for organizing things. Airlines and express mail companies use hubs to streamline their services. For example, if I want to fly from Pittsburgh or Daytona Beach to Seattle, there is a good chance that I will have to fly to a hub city like Dallas first before I will be able to catch a flight to Seattle. Also, if I mail a package to my next door neighbor via Federal Express, it will first be routed to the USA hub city in Memphis, Tennessee, before it is sorted and then flown back to be delivered to my neighbor.
|
Dallas
- A Hub City |
What is a hub slide? A hub slide is like a visual table of contents. Each of the visual icons or pictures represents a major topical area covered in the slide show or from several slide shows. Each of these visual elements is also a hyperlink to the first slide of the category it depicts. If someone in the audience wants to observe or review one of these areas, return to the hub slide and then click on the visual to go to that specific slide. Three Elements of a Hub Slide |
 |
![]()
When the mouse cursor rolls over an icon, any number of actions can take place (note the options available from the drop down list on the right). 1) Click on the graphic to be used as a rollover. and
then select Slide Show >Action Settings... |
 |
![]()
|
A hyperlink can be any object that when selected, links to another location. For example, create a text box listing your favorite web page. Then hyperlink it so that by clicking on the text, a browser opens to your favorite page. There are two ways to hyperlink. |
![]()
| Template Modifications: Using the Slide Master can save you a lot of time in customizing your slide show, allowing you to change the background, color scheme, fonts, alignment of text, bullets and any graphics you want to include on all slides. Say you want to add a logo to your slides. Without the Slide Master you would have to add it to each slide and try to position it exactly in the same place so that it would not appear to jump around as you go from one slide to the next. Perhaps you wish to change all of the bullets in your presentation so that your main points have a particular type of star, the sub-points begin with a square and so forth, using the Slide Master would be the best way to accomplish this task. When you are finished, all slides in your slide show will include your newly created template. Visual 'Hub Slide' Icon: Anything placed on the slide master appears on all slides in a slide show. It is recommended that a visual icon be placed in one of the corners of the slide master screen. Then make this icon a rollover that links to the hub slide. Opening and Closing the Slide Master: In Slide View, go to any slide in your slide show then select View > Master > Slide Master. Make any modifications you wish to include on all slides. You will notice that there is no OK or Apply button to exit this view--simply click on another view (Slide View, Normal View or Slide Sorter View) or choose the Close or Close Master View buttons to return to your normal slide. Tip: Make desired modifications to the background of your slides first before changing other features. Although you can modify the font type, font size, alignment etc… the Slide Master is not designed for adding titles and text. It is for designing a template only. Help: If you can't see the visual icon on a slide, it is because it is under something like an image. In that case, go back to the slide master, select the visual icon and copy it. Then close the slide master and go to every slide it does not appear and paste the icon and place it in the correct location. |
![]()
Add a Basic Bullet First! PowerPoint XP Directions |
|
Column 1: Picture Bullets: Column 2: Imported Picture Bullets: Column 3: Customized Font Bullets |
Each of the three columns of bullets
below were found in different locations. 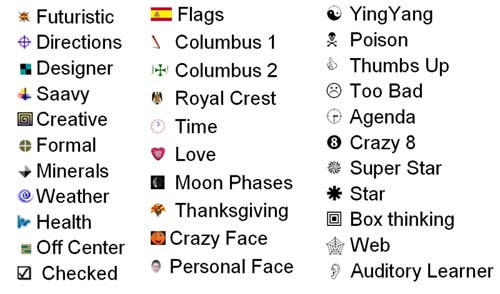 |
| Action buttons are buttons that when pressed complete an action. They act exactly the same as action settings except a button is created instead of using an object or text. Go to Slide Show > Action Buttons and then choose a button type. For example, choose the Home option. On the screen your cursor will change to cross hairs. Click and drag the mouse down and to the left to create a button with 'house' on it. When the mouse button is released, the Action Settings dialog box will appear with a recommendation that your 'Home' button Hyperlink to: First Slide. Choose OK to accept this setting, or change the setting and then press OK. |
![]()